HaKTuts
Installation Minimum requirements:
. Bootable CD-DVD Drive / USB Stick
• A minimum of 8 GB disk space for the Kali Linux install.
• For i386 and amd64 architectures, a minimum of 512MB RAM.
• You will also need an active Internet connection before installation. This is very important or you will not be able to configure and repositories during installation.
- Download Kali Linux and either burn the ISO to DVD, or prepare a USB stick with Kali Linux Live as the installation medium.
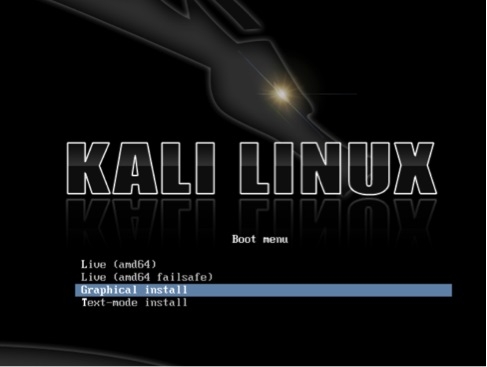
When you start Kali you will be presented with a Boot Install screen. You may choose what type of installation (GUI based or Text Based) you would like to perform.
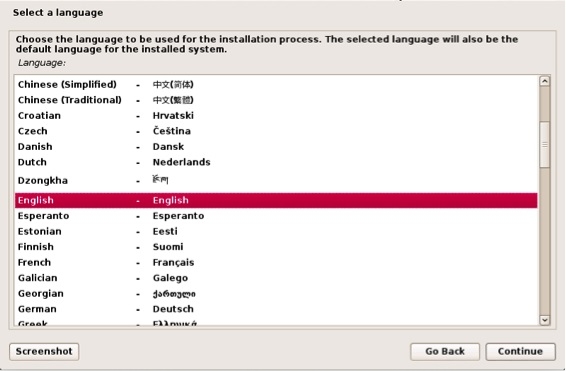
Select the local language preference, country, and keyboard preferences.
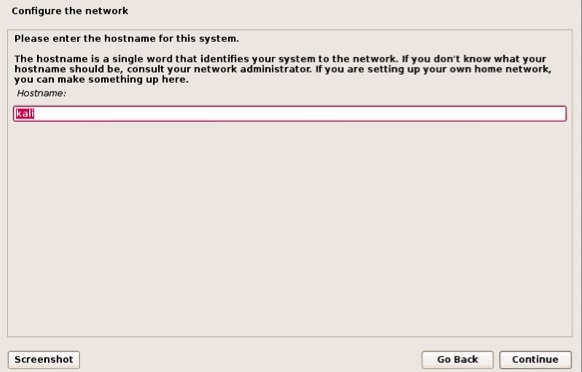
Select a hostname for the Kali Linux host. The default hostname is Kali.
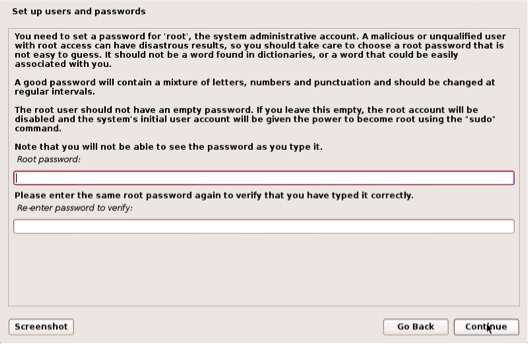
Select a password.
Simple passwords may not work so chose something that has some degree of complexity.
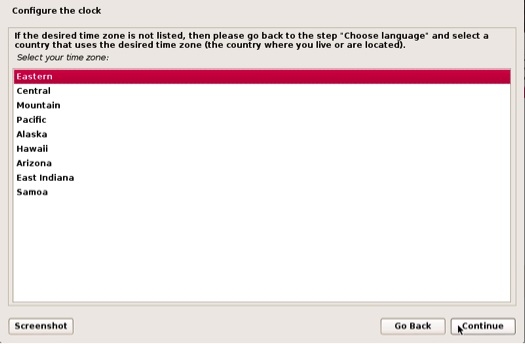
The next prompt asks for your time zone. Modify accordingly and select continue. The next example shows selecting Eastern Standard time.
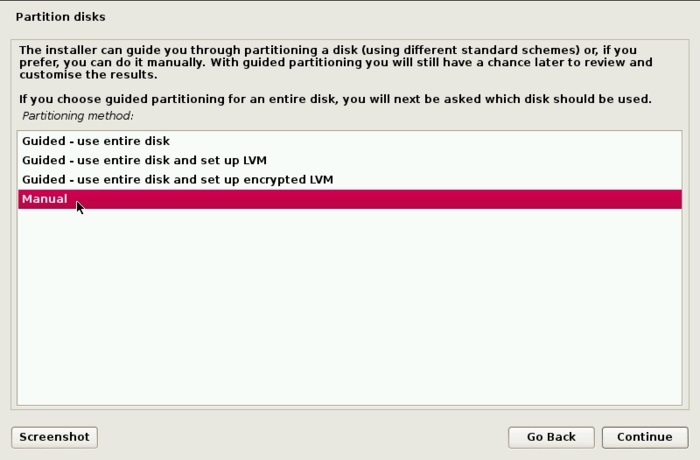
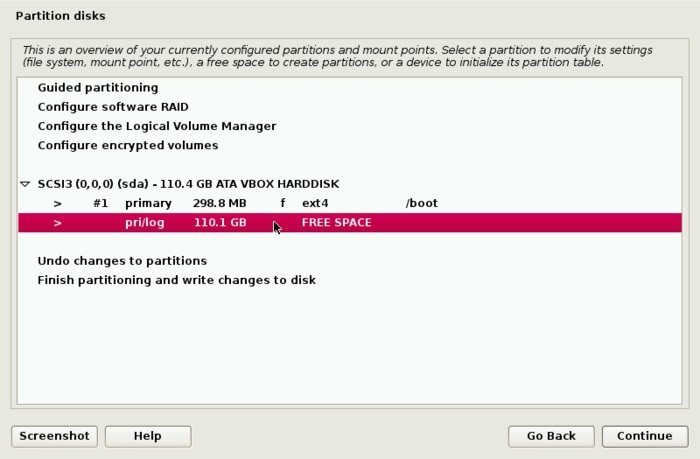
Select Manual, then click Continue.
1. Create the boot partition
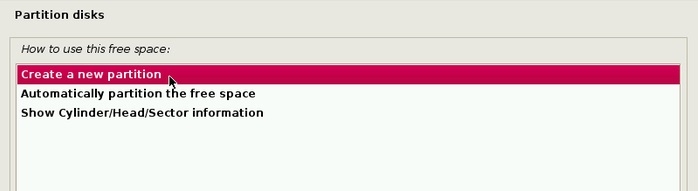
Select Create a new partition, then click Continue.

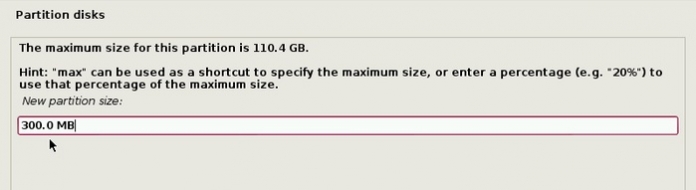
Allocate a suitable disk space to it. Any value more than 50 MB is good. More is better. Continue.
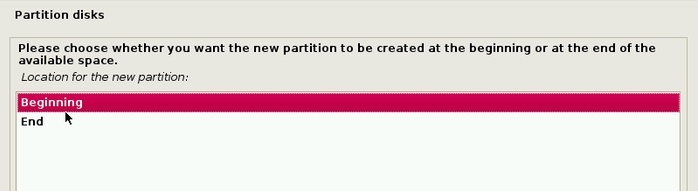
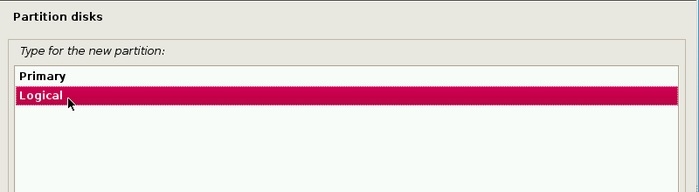
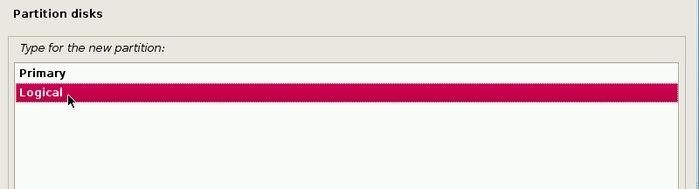
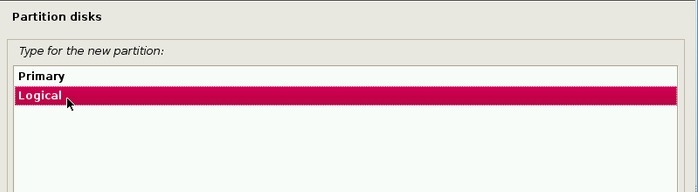
If this is the first partition on ths disk, the installer will create it as a Primarypartition, which is just fine. Subsequent partitions will be created as Logicalpartitions, which is just fine, too.
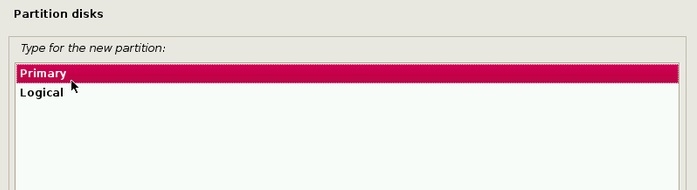
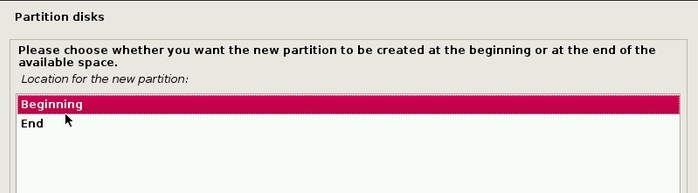
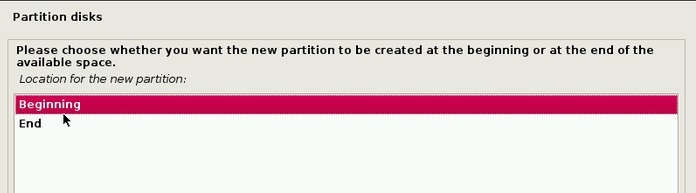
The default is good. Continue.
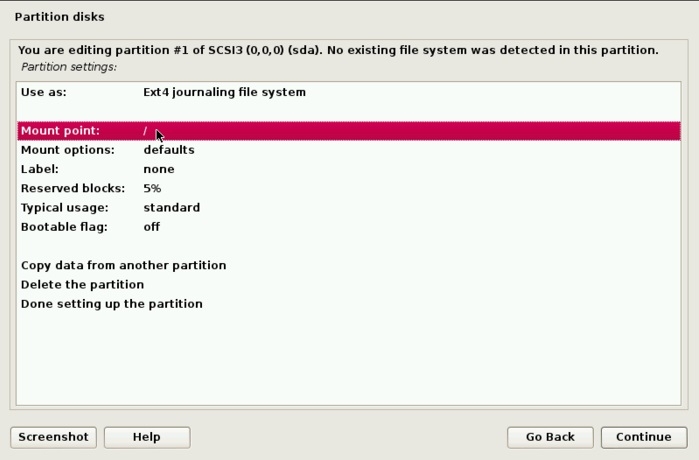
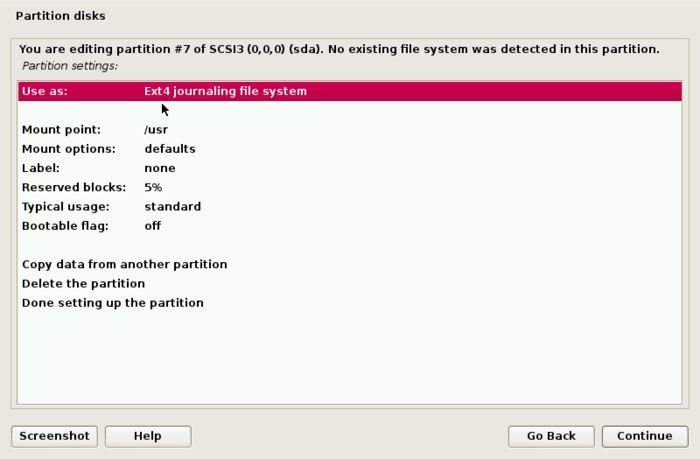
The partition has been created. Now we need to specify that we want it mounted at /boot. To do that, double-click on the Mount point line. You'll have to do this to change the mount point of any partition.
Select /boot from the list of options.
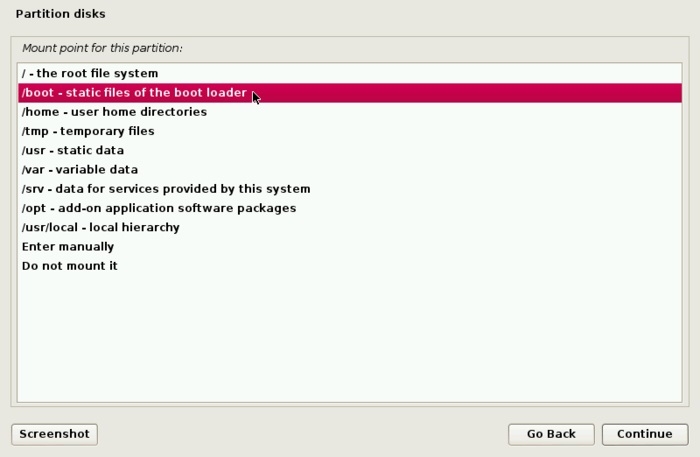
That's all you need to do for this partition.
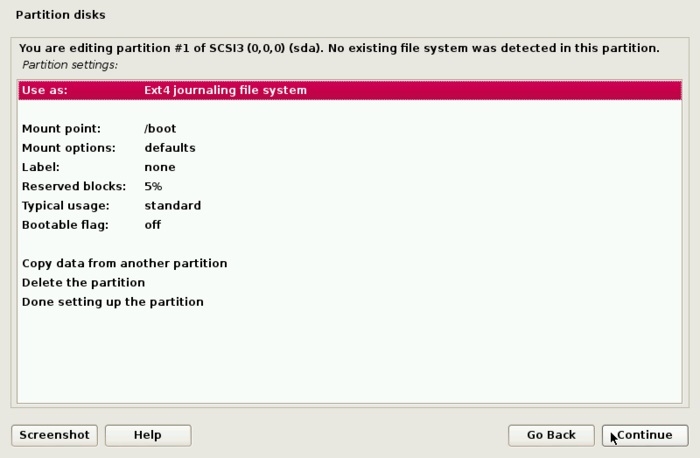
Select Done setting up the partition, then click Continue.

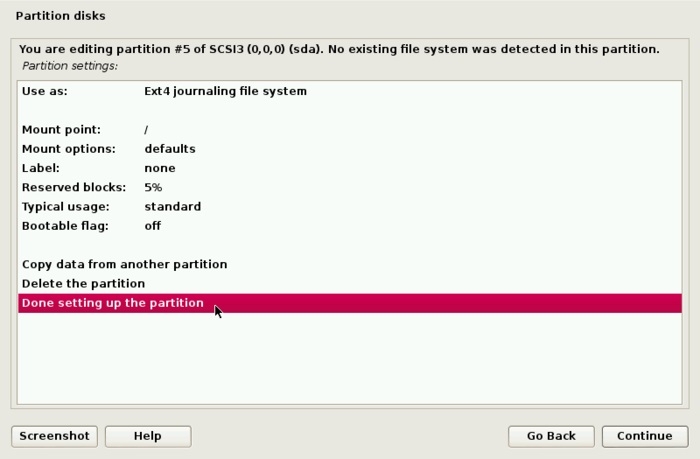
2. Create the root partition
Back to the main partitioning window, you should see the new partition you just created and the available free space. Select the latter, then click Continue to create the next partition, which will be for the root partition. Note that this step will have to be repeated to create subsequent partitions.
Continue.
A fresh installation of Kali Linux 1.0.6 takes up more than 9.5 GB of disk space, so assign this partition enough disk space to install the system and also sufficient to account for future growth in disk usage. Continue.
The default is good. Continue.
Continue.
By default, it should be mounted at /, so select Done setting up the partition, then click Continue.
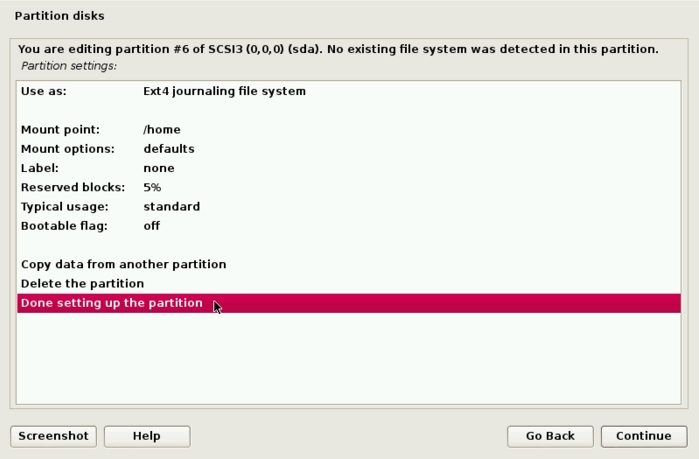
3. Create the partition for /home
After selecting the remaining free space from the main partitioning window, then clicking Continue, you should see this window, which should be familiar to you by now. Select Create a new partition, then click Continue.

Since this partition will be mounted at /home, assign it as much disk space as you have available. Continue.
Continue.
The default settings are good, so select Done setting up the partition, then clickContinue.

4. Create the Swap partition
This will be the last partition. Continue.
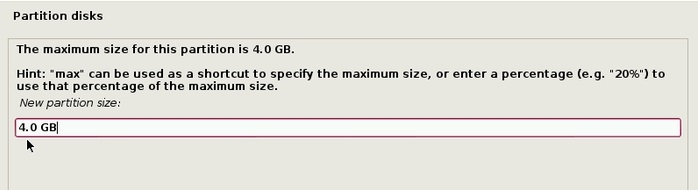
On a 64-bit system, 4 GB for Swap is good enough. On a 32-bit system, 2 GB or less is enough. Continue.
Continue.
You need to change the default setting here, so double-click on the "Use as" line as show in above image and select swap area from the list of options in the window that opens.
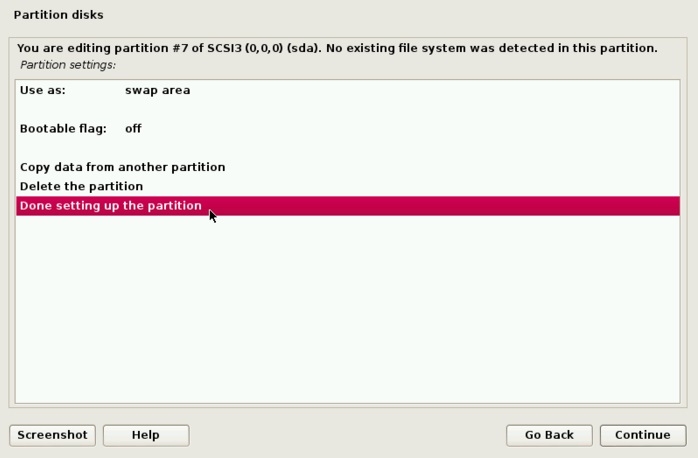
Select "Done setting up the partition". Continue.
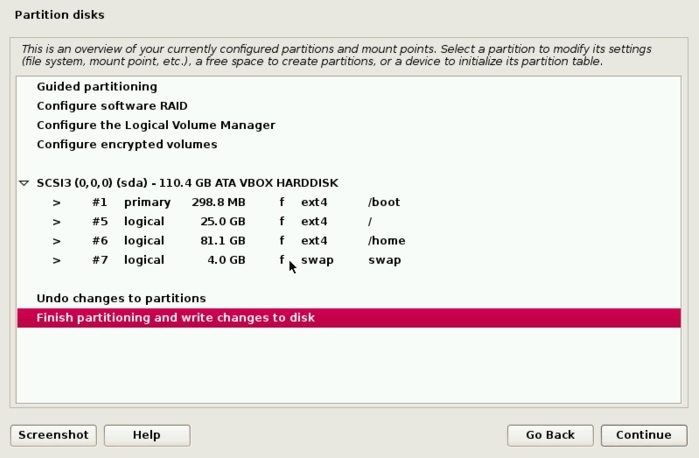
Back to the main partitioning window, you should see all the partitions that you created. Verify that all is well, then select " Finish partitioning and write changes to disk "
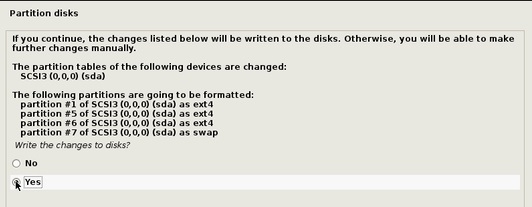
Yes. Continue. That's the end for how to create partitions manually for Kali Linux (1.0.6).
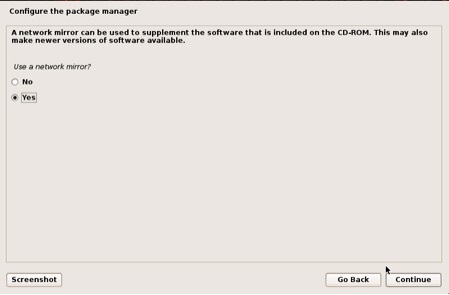
Kali Linux using central repositories to distribute application packages. If you would like to install these packages, you need to use a network mirror. The packages are downloaded via HTTP protocol. If your network uses a proxy server, you will also need to configure the proxy settings for you network.
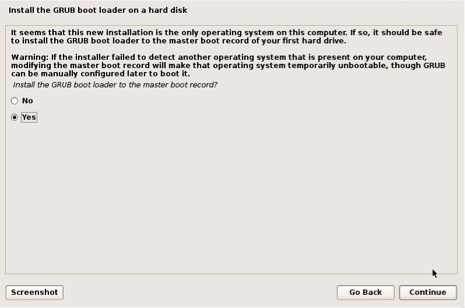
Kali will be prompt to install GRUB. GRUB is a multi-bootlader that gives the user the ability to pick and bootup to multiple operating systems. In almost all cases, you should select to install GRUB. If you are configuring your system to duel boot, you will want to make sure GRUB recognizes the other operating systems in order for it to give users the options to boot into an alternative operating system. If it does not detect any other operating systems, the machine will automatically boot into Kali Linux.
4.04.0
Congratulations! You have finished installing Kali Linux. You will want to remove all media (physical or virtual) and select continue to reboot your system.
© 2014 HaKTuts. All rights reserved.